The HubSpot Trigger can be used if you want a certain HubSpot activity to start your workflow.
The HubSpot trigger enables you to get notifications and launch workflows when specific events connected to the trigger operation take place.
Setup Webhook
You must select the HubSpot trigger. This can be altered within the workflow builder itself or at the create new workflow stage.
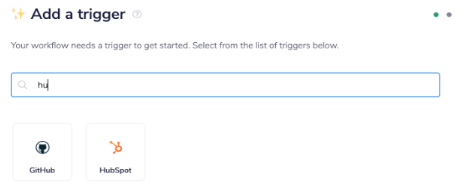
Make the HubSpot trigger stand out. Click the Authenticate tab and the "Add new authentication" button in the HubSpot trigger properties panel to the right of the builder.
Version 3.0+: How to configure the HubSpot trigger
Choose 'Webhook' from the list of available dropdown options.
To receive notifications for a HubSpot account, either select an authentication that is currently connected to it or create a new authentication using the instructions above.
Finally, activate your workflow by clicking the Enable button in the workflow's right-hand corner.
.png?width=688&name=Copy%20of%20Manobytes%20postings%20for%20October%20to%20December%20(3).png)
Now, the workflow will start when pertinent events take place.
Version 2.0 & earlier
Step 1. Copy workflow public URL
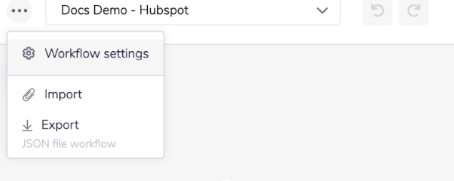
Select the button in the workflow editor's upper left corner. Choose "Workflow settings" from the menu.
Copy your "Workflow public URL" and paste it into the "General settings" tab.
.png?width=688&name=Copy%20of%20Manobytes%20postings%20for%20October%20to%20December%20(4).png)
Before continuing, make sure to activate your workflow; otherwise, your Webhook won't operate.
Step 2. Enter the Target URL
Go to your HubSpot Developer account page. It ought to match the following:
https://app.hubspot.com/developer/123xxxx89
❕ NOTE: The following documentation, How can I establish an app in HubSpot?, contains further information on how to set up a developer account for older versions of the HubSpot connector (v2.0 and earlier).
Click "Webhook subscriptions" after selecting the program from which you want to get changes. In the "Target URL" box, enter the Tray.io Webhook URL you earlier obtained from the constructor.

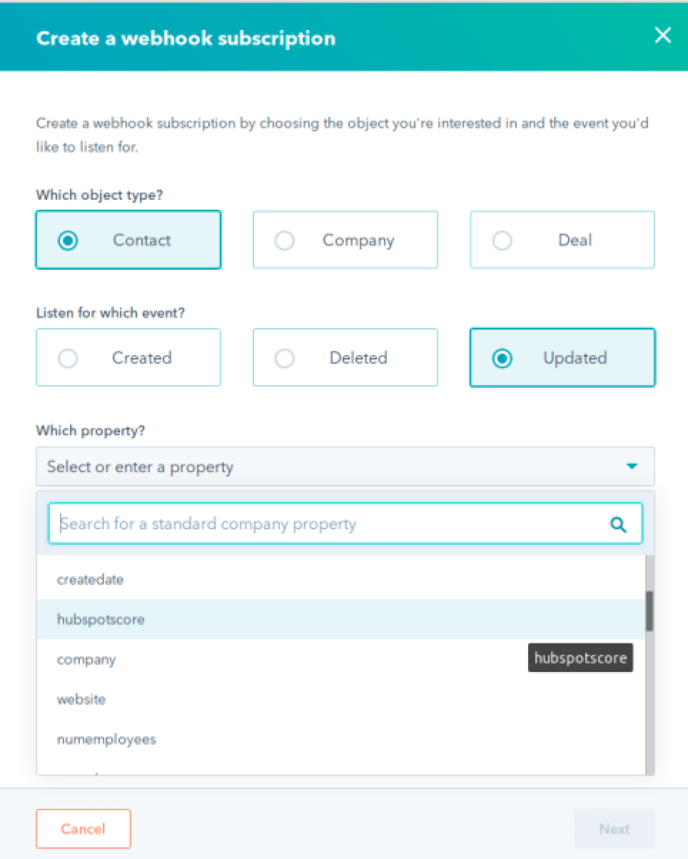
Step 3. Create subscriptions
To create a new event trigger, choose the "Create Subscription" option. In this instance, each time the "hubspotscore" for a contact is updated, the Tray.io trigger will be activated. Choose the solution that is best for you and your needs based on your use case.
Step 4. Test Webhook
You will see the test Webhook page after creating the subscription:
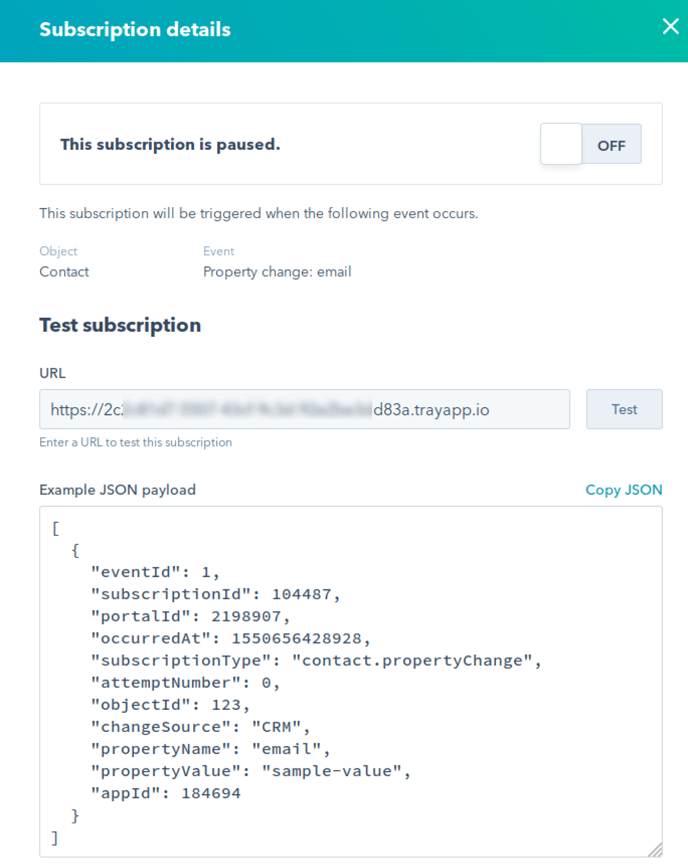
To send a test payload to your workflow, enter the Webhook URL once more and select "Test" from the drop-down menu. If everything is set up properly and your Webhook is active, you should be able to see some logs in the Debug tab.
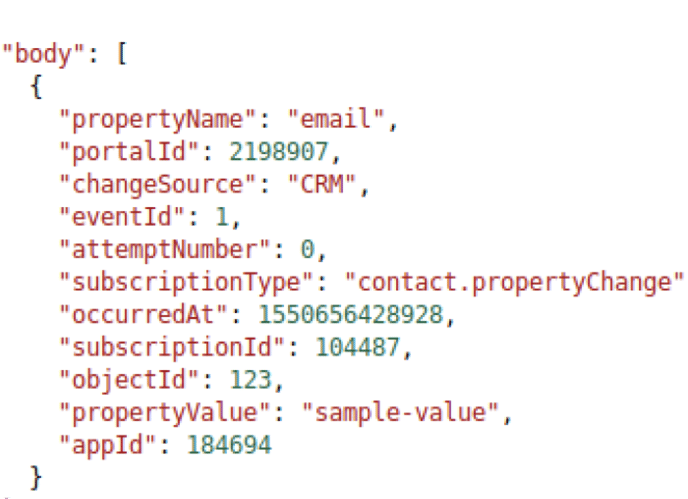
Here is an example of the type of payload you can anticipate receiving following a sent call: